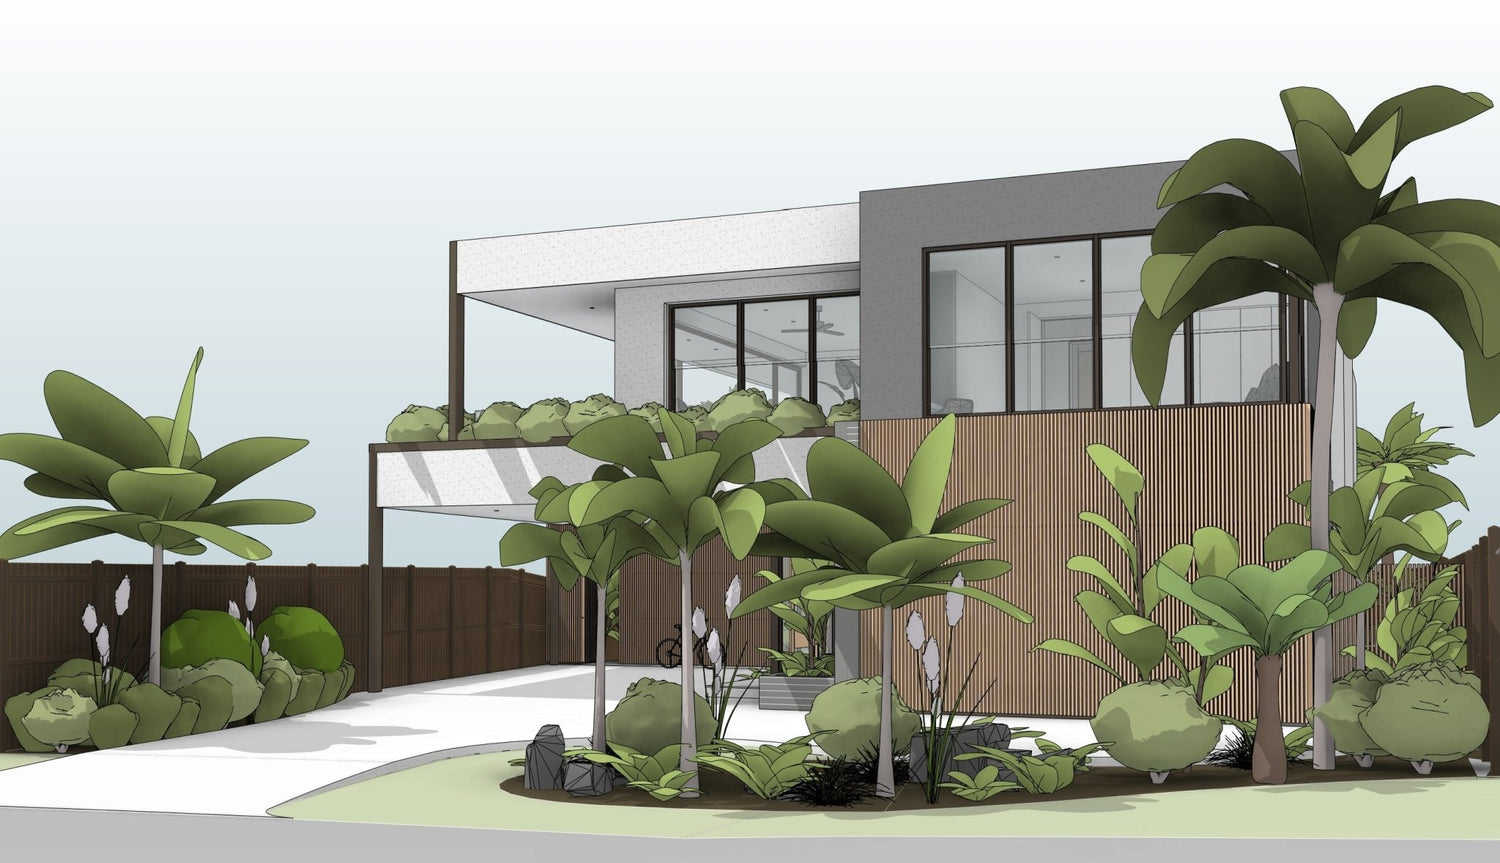
BIMcraftHQ Family - Trees and Shrubs
Introducing our latest set of advanced parametric families, the BIMcraftHQ planting families. These aim to be a vast improvement over the built-in RCP families whose appearance in plan elevation and 3D is woefully lacking. In Revit, planting families are complicated beasts, and sometimes downright ugly. Some families out there use 2D planes to represent the tree outline, but this only looks good from certain angles. Some use highly detailed 3D CAD imports that slow down your model, and some just use filled regions, but don’t show shadows.

Our solution to these problems is a balance between 2D and 3D, with an architecturally stylised tree form that looks fantastic in all views. It has an adjustable canopy diameter that changes both 2D and 3D representations, 5 different plan styles and the ability to enable a Structural Root Zone and Tree Protection Zone for documentation purposes. Plus, for those that have an Enscape license, all plants are pre-linked with Enscape native assets, meaning instant high-quality representation upon opening the Enscape render window.

Want to know more about how to change the graphic appearance when in Revit? Keep reading below...
Customising the 3D and 2D Fill and Line Style
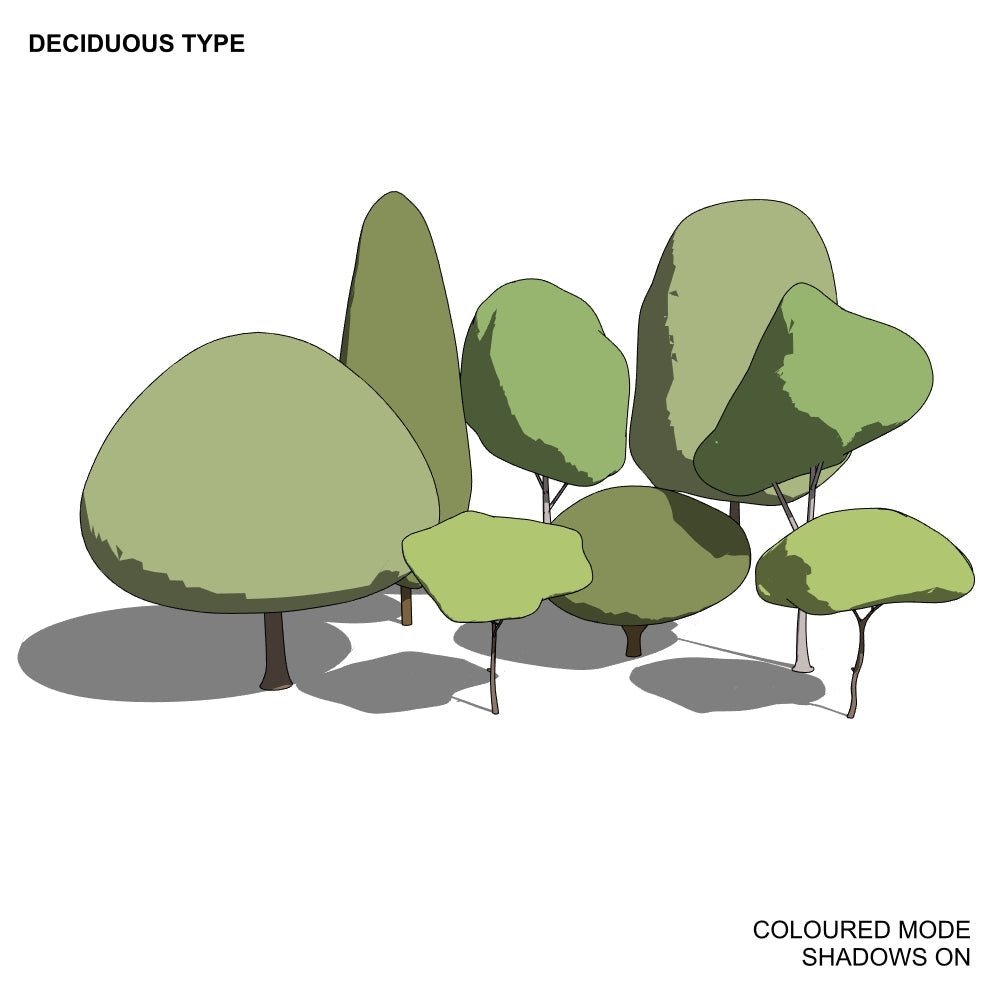
BIMcraftHQ planting families are made with a combination of 2D and 3D models allowing a variety of visual customisation options.
|
In 3D and elevation views the imported 3D model is visible. |
In plan views both the 3D model and optional plan 2D family is visible. |
 |
 |
|
The graphic style of the 3D model is controlled by 2 Imported Object Styles: PLT_3D Tree_(Family Name)_Canopy PLT_3D Tree_(Family Name)_Trunk |
The graphic style of the 2D plan family is controlled by 2 Planting Object Styles: 2D Tree Canopy 2D Tree Trunk |
Depending on your needs and preferred visual style, the appearance of BIMcraftHQ planting families can be controlled in three primary ways.
Globally
To modify the appearance globally change any of the object styles mentioned above from within the object styles dialogue box.
3D appearance: Manage > Object Styles > Imported Objects

Plan 2D appearance: Manage > Object Styles > Model Objects > Planting
Here you can modify the projection line weight, colour and line pattern. Changing the material here has no effect.

Per-View Basis
Modifying the appearance on a per-view basis can be done from the Visibility/Graphic Overrides dialogue box.


Applying transparency to the entire Planting category can provide a nice soft appearance to your plants, but note, that this will also disable the planting shadows. Sadly, Revit does not support the transparency of a family and the ability to show shadows on said family at the same time.
Per-Object Basis
This is where you can really start to make your planting families pop. By using individual graphic over overrides you can control the graphics style of a selection of trees and begin to create variety with shades of green, hatches or transparency.
Select a tree or multiple trees > Right Click > Override Graphics in View > By Element

If you would like to take this one step further, why not create a filter that targets the type properties of a particular species to automatically apply a different tone of green 😉.
